




Let customers speak for us
HOT PRODUCTS
-
Sold outRegular price $289.99 USDUnit priceUnavailable
-
-
3-Way Adjustable Highway Peg Mounts '18-UP
Regular priceFrom $289.99 USDUnit priceUnavailable -
-
Sold out
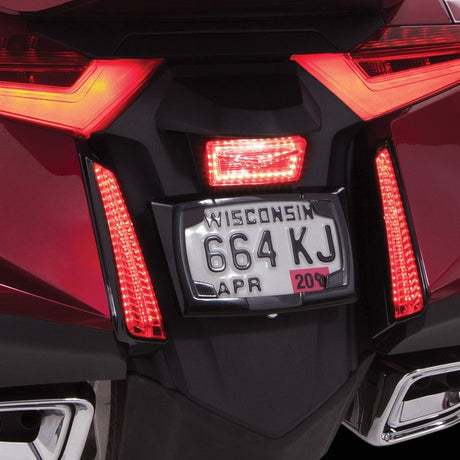
Shock & Awe EVOLVED® Lighting Kit / '18-UP
Regular price $524.99 USDUnit priceUnavailable -
-
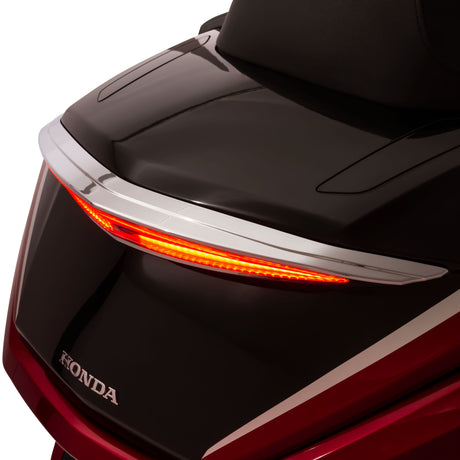
LED Trunk Light with LIGHTSTRIKE / '21-UP
Regular price $399.99 USDUnit priceUnavailable -
-
Regular price $225.99 USDUnit priceUnavailable
-
-
Sold out
Six Shooter Engine Lights - COMING SOON
Regular price $289.99 USDUnit priceUnavailable -
-
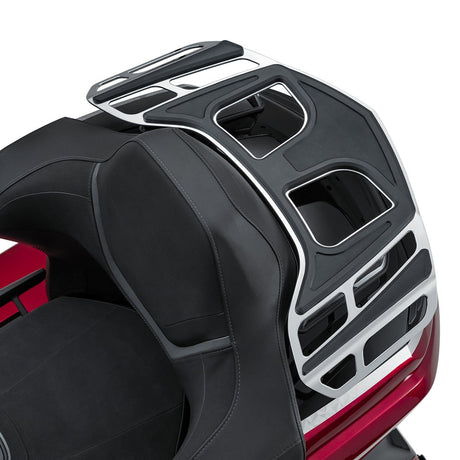
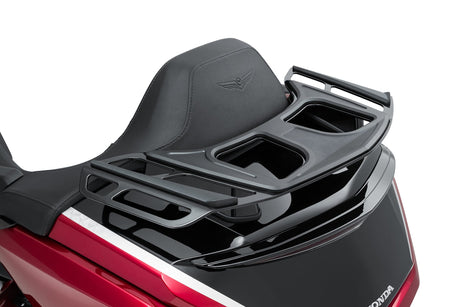
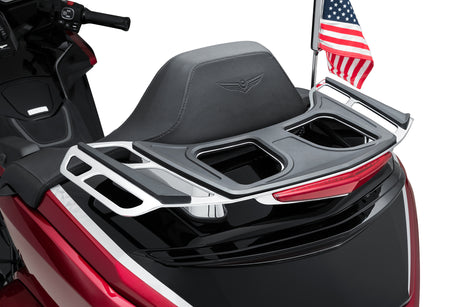
Luggage Rack with Lightstrike Light / '21-up
Regular price $499.99 USDUnit priceUnavailable -
-
Regular price $369.99 USDUnit priceUnavailable
-
-
Sold out
Engine Lighting Panels - COMING SOON
Regular price $319.99 USDUnit priceUnavailable -
-
Regular price $149.99 USDUnit priceUnavailable
-